Step-by-Step Guide: Crochet a Rainbow Ear Flap Hat Beanie
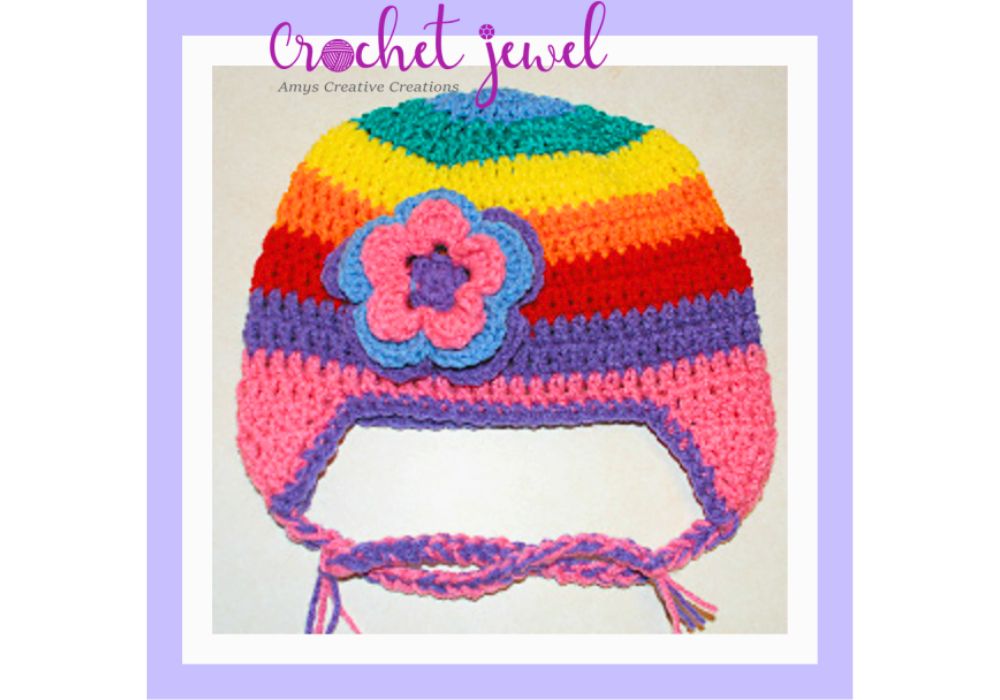
Crochet a Beautiful Rainbow Ear Flap Hat Beanie
Add a burst of color and whimsy to your winter wardrobe with a crochet project that’s as delightful to make as it is to wear – a beautiful rainbow ear flap hat beanie! Perfect for chilly days and cheerful outings, this eye-catching accessory combines the warmth of a cozy beanie with the playful charm of rainbow hues and fun ear flaps. Whether crafting it for yourself or as a thoughtful gift for a friend or family member, crocheting a rainbow ear flap hat will bring joy and warmth to anyone wearing it.
In this guide, we’ll explore how to crochet a beautiful rainbow ear flap hat beanie step by step, from selecting the perfect yarn colors to mastering the essential stitches and techniques needed to create this whimsical accessory. With just a few skeins of yarn and some basic crochet skills, you can bring this vibrant creation to life, adding your own personal touches and flair along the way.
This post contains affiliate links. If you purchase through these links, I may earn a modest commission at no extra cost. Please review my privacy policy for more details.
✨ We hope you enjoyed these photos! If so, please consider sharing them on Pinterest by clicking the Pin Button on each image. Your support helps us connect with more people and spread creativity. Thank you so much! 💖
To begin, gather your materials. You’ll need worsted-weight yarn in different colors to create the rainbow effect, a size J/6 mm crochet hook, a tapestry needle, and a stitch marker. You can also add a faux fur pom pom for that extra touch of style.
How to Watch Videos in Slow Motion – if the video is too fast!
How to Crochet For Beginners Playlist – Click Here

Supplies:
Click the Links for Your Materials
Red Heart blue, green, yellow, orange, purple, red, and pink yarn
dc2tog=double crochet 2 together
rnd 1: Work 11 dc in a Magic Circle, sl st on top of the chain 3. -11 dc
rnd 2. ch 3, dc in same st. as joining, 2dc in each st. around. join with sl st on top of chain 2. -22 sts.
rnd 7. Then sl st in the beg stitch with orange yarn , *ch 3, dc in each st around, sl st to join.
rnd 8. ch 3, dc in each st around, sl st to join.
rnd 9. Then sl st in the beg stitch with red yarn , *ch 3 , dc in each st around, sl st to join.
rnd 10. ch 3, dc in each st around, sl st to join.
rnd 11. Then sl st in the beg stitch with purple yarn , *ch 3, dc in each st around, sl st to join.
rnd 12. ch 3, dc in each st around, sl st to join.
rnd 13. Then sl st in the beg stitch with pink yarn , *ch 3, dc in each st around, sl st to join. Fasten off.
Make 2
H hook
1st ear flap, you can slip stitch onto the side of the hat with your pink yarn, begin the dc stitches, (like to have the seam in the back of the hat, so I do the ear flap on the side of the hat)
2nd flap, fold hat in half and sl st in dc directly across from the last dc from the other ear flap. follow the directions below for both ear flaps.
The braid from the center of the ear flap at the bottom, attach two colors of yarn, pink and purple yarn, with a sl st in the center of the bottom of the ear flap and chain 30, and sl st it off and cut yarn.
sc around the edge of the hat with purple yarn.
Start with pink yarn ch 5, join round with sl st.
rnd 1. 10 sc in the loop, join with the beginning sc with a sl st.
rnd 7. *ch 1, 9 triple crochet in the chain 5 space, ch 1, sl st. in the previous sc, *repeat until you have 5(9 triple crochet petals) sl st to finish, fasten off and weave in the ends, attach to the hat.
Print the Entry on the top of the page to print the pattern!
Follow our step-by-step instructions and use the video tutorial for visual guidance as you work on each row. You’ll repeat rounds to build the body of the hat, adjusting the number of stitches to match your head size. There’s also a crochet hat size chart included to help you determine the perfect fit.
The ear flaps will add both style and warmth to the hat. We’ll work these separately and attach them to the sides later in the pattern.
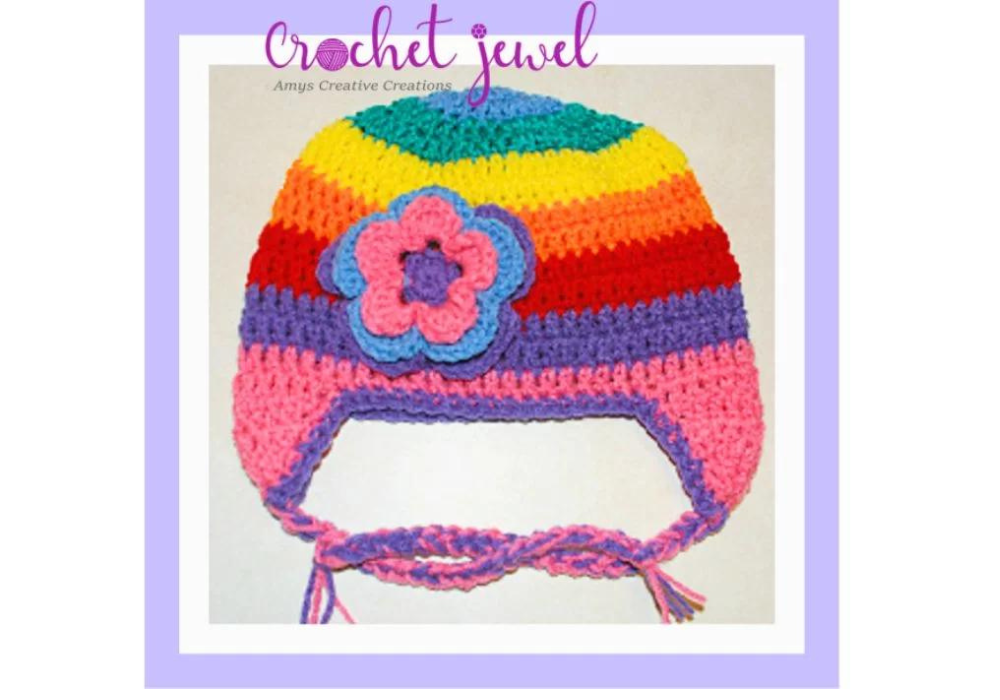
By the end of this project, you’ll have a beautiful rainbow ear flap hat, a perfect accessory for the winter season. You can customize it with different color combinations, making it uniquely yours. Don’t forget to add the optional faux fur pom pom for that trendy finish. Crocheted beanies are not only a great project for yourself but also make great gifts for friends and family. Plus, you can use affiliate links and social media to share your creations and earn a small commission.
We hope you’ve enjoyed crocheting this easy hat pattern and that it keeps you warm and stylish in the cold weather. If you’re a beginner crocheter, this pattern is an excellent choice to practice your basic crochet stitches and gain confidence in your crocheting skills. Happy crocheting!
To Find All My Crochet Jewel Patterns, Click Here

Click Here for My Ravelry Patterns


Crochet Hats for Beginners Book For Sale – Click Here


You May Also Like

Learn How to Crochet a Witch’s Hat with Our Enchanting Tutorial
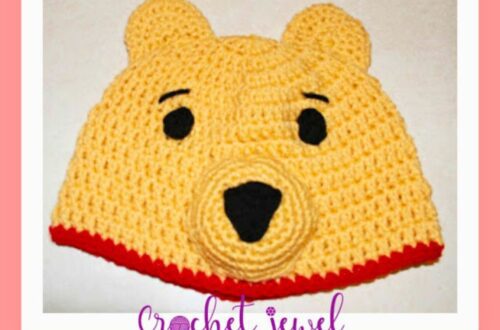
How to Crochet a Stylish Winnie the Pooh Inspired Hat Pattern