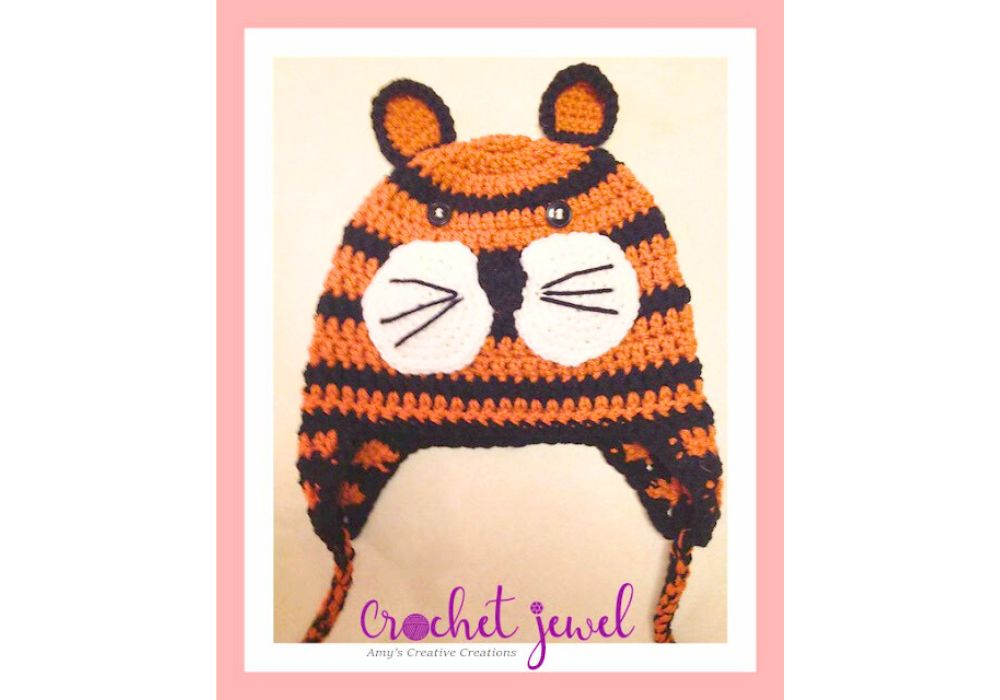
Crochet a Fun Tiger Hat Beanie: Step-by-Step Tutorial
How to Crochet a Tiger Hat
Step into the wild side of crochet with our guide to crafting a captivating tiger hat—a roaringly adorable accessory that’s sure to turn heads.
Creativity knows no bounds in the crochet world, and this project is no exception. Whether you are seeking a playful addition to your winter wardrobe or a whimsical gift for a loved one, crocheting a tiger hat offers an exciting opportunity to unleash your creativity and hone your crafting skills.
Join us as we embark on a journey to bring this fierce yet charming creature to life, one stitch at a time. With our easy-to-follow instructions and a dash of imagination, you’ll soon be sporting a hat that’s as unique as cozy. So, grab your crochet hook, unleash your inner tiger, and let’s get started on this wild and wonderful crochet adventure!
Within this post, you’ll find affiliate links. If you decide to purchase through these links, I may earn a modest commission at no extra cost. Additionally, please review my privacy policy for more details.
✨ We hope you enjoyed these photos! If so, please consider sharing them on Pinterest by clicking the Pin Button on each image. Your support helps us connect with more people and spread creativity. Thank you so much! 💖

To begin, we’ll create the foundation chain for your hat. Remember that head size can vary, so check the crochet hat size chart for reference. We recommend using a size H crochet hook for an adult medium-sized hat. However, adjust the hook size based on your preference and gauge swatch results.
How to Watch Videos in Slow Motion – if the video is too fast!
How to Crochet For Beginners Playlist – Click Here

Supplies:
Click the Links for Your Materials
dc=double crochet
sc=single crochet
sl st=slip stitch ch=chain
sc2tog=single crochet
hdc2tog=half double crochet two together
Start with orange yarn, Work 11 dc in a Magic Circle, sl st on top of the chain 3. -11 dc
rnd 6. *ch 3, dc in each st around, join sl st., *repeat. Continue until the hat reaches 7 inches, sl st. Fasten off. When you are finished with the hat, turn the hat inside out, in each row, tie the ends together a few times, and cut the ends.
Ear flaps:
place the nose in the top center of the cheeks.
Print the entry at the top of the page to print the pattern!
To finish off the hat, create a slip stitch (sl st) in the last stitch of the last row and fasten off. Leave a long tail of yarn for sewing and securing your hat.
Use a tapestry needle to weave in any yarn tails and join the last row neatly.
Consider adding a yarn pom, faux fur pom pom, or any other decorative element to your finished hat.
You’ve created a cozy and stylish crochet hat in just a few easy steps. Whether you’re making it for yourself or as a gift, this simple beanie pattern is a great project for new crocheters and a fun, quick project for experienced crocheters. You can experiment with different yarn weights, colors, and crochet hook sizes to achieve the perfect fit and style. Be sure to check out our video tutorial and join our Facebook group to share your creations and get inspired by others. Happy crocheting, and don’t forget to explore our other free crochet hat patterns and projects. Your new crocheted beanie will be a perfect companion for the cold weather, making it a great gift. Plus, you can support our site through affiliate links, which earn us a small commission at no extra cost. For more details, don’t forget to check our privacy policy. Enjoy your crocheting journey!
To Find All My Crochet Jewel Patterns, Click Here

Click Here for My Ravelry Patterns


Crochet Hats for Beginners Book For Sale – Click Here

Crochet For Beginners Book for Sale – Click Here


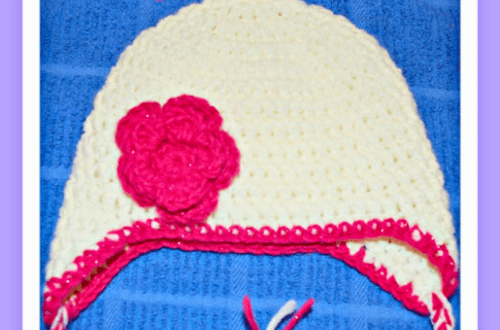
You May Also Like
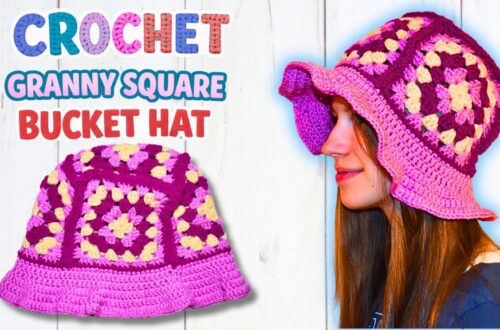
Crochet Granny Square Bucket Hat: Easy DIY Pattern
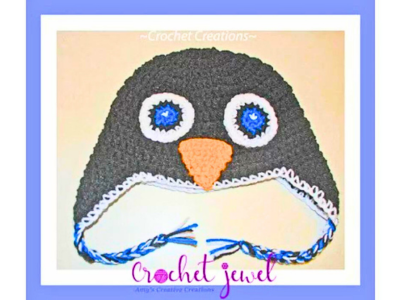
Create Your Own Penguin Ear Flap Hat: Easy Crochet Tutorial