Crochet a Beautiful Ladybug Hat: Step-by-Step Guide
How to Crochet a Ladybug Hat
Welcome to the crochet world, where you can craft the cutest and coziest ladybug hat using our easy crochet hat pattern. This adorable bug-themed headwear is perfect for winter and an ideal project for crocheters of all skill levels. In this free crochet pattern, we’ll guide you through the process step by step, with the option to add a faux fur pom-pom for a touch of whimsy. Whether you’re a seasoned crocheter or a beginner, this crochet beanie pattern is a great project for making great gifts for loved ones or keeping your head warm. So, grab your worsted weight yarn and your mm hook, and let’s start with this perfect crochet hat pattern. This crochet ladybug hat pattern is a fun and adorable project, perfect for adding a cute and whimsical touch to any outfit.
To create this ladybug hat, you’ll begin with a foundation chain that matches the head size you’re crafting for. Our crochet hat size chart can help determine the starting number of stitches. Start with basic crochet stitches, working in the back loop only to give your hat a unique texture.
You’ll find affiliate links within this post. If you decide to purchase through these links, I may earn a modest commission at no extra cost. Additionally, please review my privacy policy for more details.
✨ We hope you enjoyed these photos! If so, please consider sharing them on Pinterest by clicking the Pin Button on each image. Your support helps us connect with more people and spread creativity. Thank you so much! 💖
Continue crocheting the body of the hat using single crochet stitches and slip stitches. You’ll also need to use half double crochet and double crochet stitches to create the ladybug design on the top of the hat. A stitch marker will help you keep track of your rounds and repeats, ensuring a perfect fit.
How to Watch Videos in Slow Motion – if the video is too fast – Click Here!

Click the Links for Your Materials
I Hook, H hook, G hook, Yarn needle
dc=double crochet
sc=single crochet
sl st=slip stitch
ch=chain
hdc=half double crochet
2sctog=2 single crochet together decrease
Make 2
ch 2. hdc2tog, hdc in the next 3, hdc2tog. hdc in the last st., turn -6 sts
ch 2. hdc2tog, hdc in next 1, hdc2tog. hdc in the last st., turn. -4sts
ch 2. hdc in each stitch across, pull through and fasten off. -4 sts
Trim: use black yarn, sc around the hat and ear flaps,
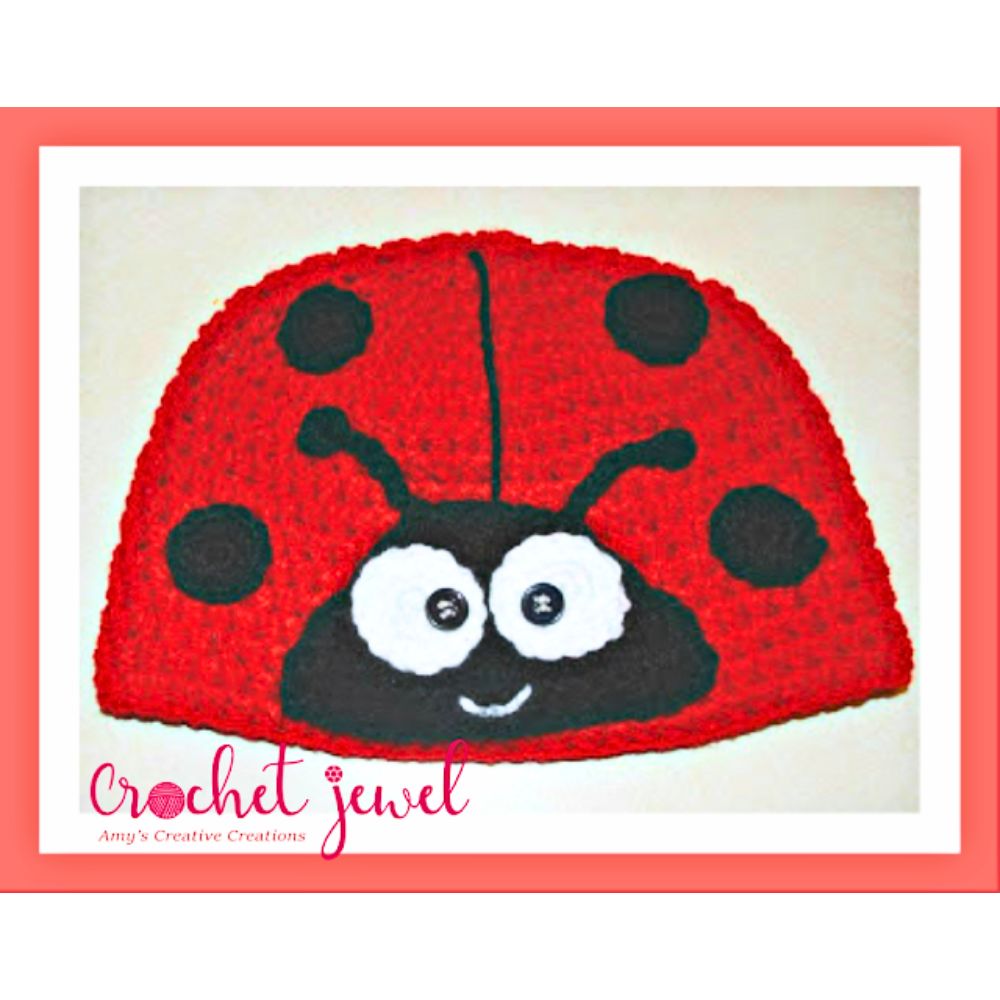
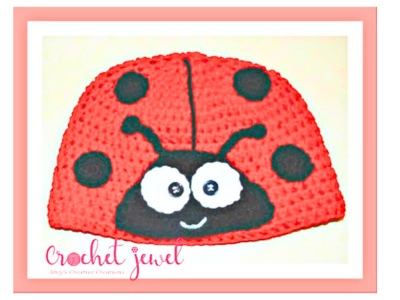
Face of the ladybug:
Black yarn
H hook
chain 20
hdc2tog= half double crochet 2 together decrease
row 1: Hdc in the 3rd chain from the hook, hdc in each stitch across. Turn(18hdc)
row 2: ch 1, hdc2tog, hdc in each stitch across, hdc2tog in the last 2 stitches. Turn(16hdc)
row 3. ch 1, hdc2tog, hdc in each stitch across, hdc2tog Turn (14hdc)
row 4. ch 1, hdc2tog, hdc in each stitch across, hdc2tog Turn (12hdc)
row 5. ch 1, hdc2tog, hdc in each stitch across, hdc2tog Turn (10hdc)
row 6. ch 1, hdc2tog, hdc in each stitch across, hdc2tog (8hdc) fasten off, sew the face at the bottom center of the hat, but sew the eyes and smile on first.
white yarn
Make 2
ch 2, work 5 sc in the 2nd chain from the hook. (5sc)
Rnd 1. work 2sc in each stitch around, sl st. (10sc)
Rnd 2.* 1sc in the next stitch, work 2sc in the next stitch, *repeat sl st .(15sc) fasten off.
Pupils: Make 2, Use Buttons. Sew them on the side of the white eye circle with a needle and thread.
Sew on the eyes on the black face next to each other.
Smile: Sew in a smile line with white yarn, and sew it in the center to secure the smile.
Black Dots
G hook
Black yarn
Make 8
ch 2, work 5 sc in the 2nd chain from the hook. (5sc)
Rnd 1. work 2sc in each stitch around, sl st. (10sc) fasten off. Sew 4 dots on the front of the hat and 4 dots on the back of the hat.
Antennas: Make 2, black yarn, F hook,
chain 9, in the 2nd chain from the hook work 2sc, then in the same chain, slip stitch, and fasten off. Sew both antennas going in opposite directions from the face (seen in the picture above).
Print the Entry on the top of the page to print the pattern!
Click Here for More Crochet Hat Patterns
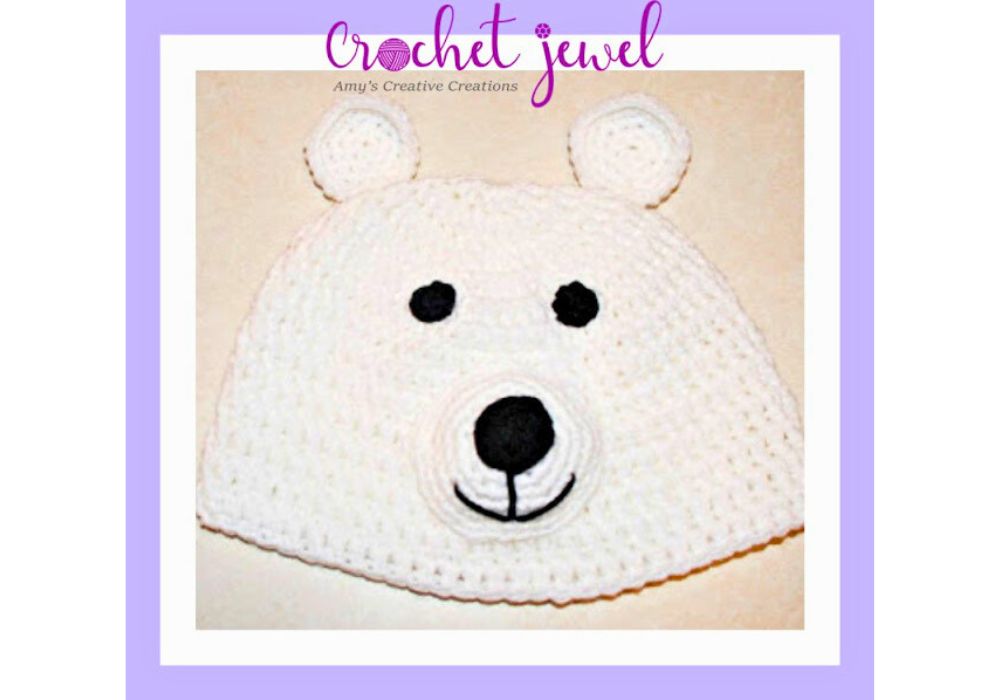
Click Here for the Crochet Polar Bear Hat Pattern
The black line from the face to the top of the hat. Take a yarn needle and sew straight from the head to the top of the hat. Secure the line with a little stitch in the middle and at the ends. Fasten off.
For those new to crochet, don’t worry. We’ve covered you with a video tutorial on our website and a Facebook group to connect with our crochet community for guidance and support. If you’re feeling extra creative, you can make your ladybug hat in different colors to match your favorite yarns and create unique variations.
You’ll be amazed at the finished product as you finish the last row of your ladybug hat. Adding a yarn pom-pom, a faux fur pom-pom, or even a messy bun hat variation can add a fun and stylish touch. Plus, if you purchase your yarn through our affiliate links, you’re supporting our crochet projects at no extra cost. With the cold weather approaching, this ladybug hat is the perfect accessory to keep you warm and fashionable. Whether you’re a beginner crocheter or an experienced crafter, this easy crochet hat pattern is a great project to keep you occupied. We hope you enjoy making this adorable ladybug hat and bringing joy and warmth to your winter season. Happy crocheting!
To Find All My Crochet Jewel Patterns, Click Here

Click Here for My Ravelry Patterns


Crochet Hats for Beginners Book For Sale – Click Here

Crochet For Beginners Book for Sale – Click Here


You May Also Like
Crochet a Beautiful Puff Stitch Hat: Step-by-Step Tutorial
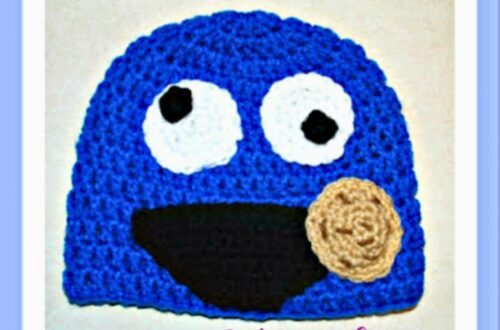
Crochet Cookie Monster Inspired Hat: A Step-by-Step Guide