Creating a Cute Minnie Mouse Inspired Hat: Easy-to-Follow Pattern Tutorial
How to Crochet a Minnie Mouse-Inspired Hat
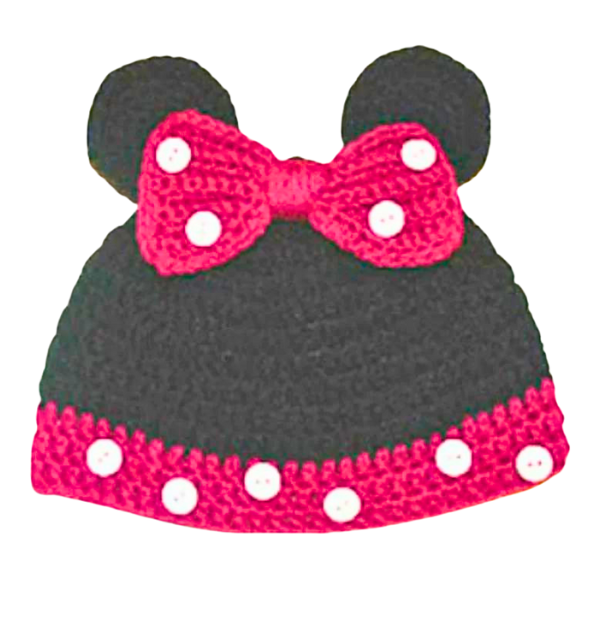
Embark on a whimsical journey into the crochet world as we unravel the steps to create a Minnie Mouse-inspired hat. With its iconic polka dots, charming bow, and unmistakable ears, this delightful accessory captures the timeless charm of everyone’s favorite cartoon character. Whether you’re crafting it for a Disney-themed event, a costume party, or to add a touch of playful flair to your wardrobe, this crochet project promises both fun and functionality. Join us as we dive into the magical realm of crochet, where yarn transforms into a beloved icon, and imagination knows no bounds. Let’s embark on this enchanting adventure and learn how to crochet a Minnie Mouse-inspired hat that will delight both young and young-at-heart alike!
This post contains affiliate links. If you purchase through these links, I may earn a modest commission at no extra cost. Please review my privacy policy for more details.
✨ We hope you enjoyed these photos! If so, please consider sharing them on Pinterest by clicking the Pin Button on each image. Your support helps us connect with more people and spread creativity. Thank you so much! 💖
**Materials and Tools**: To begin, gather the necessary materials, including worsted weight yarn, a crochet hook (size J or as specified in the pattern), a tapestry needle, and a stitch marker. These are essential for creating your Mouse Ears Hat.
**Skill Level**: This project is designed for beginners, making it easy and enjoyable for crafters of all levels. It’s a great way to get started with basic crochet stitches.
**Creating the Hat**: Follow the step-by-step instructions to create the foundation chain, work in the back loop, and use basic crochet stitches such as single and slip stitches. The pattern will also help you shape the hat to ensure a comfortable and snug fit.
**Video Tutorial**: If you prefer visual guidance, we’ve included a comprehensive video tutorial series with four videos that walk you through each stage of the crocheting process. This can be a valuable resource for a seamless project.
How to Watch Videos in Slow Motion – if the video is too fast – Click Here!
How to Crochet For Beginners Playlist – Click Here

Abbreviations:
ch=chain
sc=single crochet
dc=double crochet
sl st=slip stitch
Supplies:
Click the Links for Your Materials
G Hook, H hook, Yarn needle
Instructions:
G hook
black and pink yarn
For my 2 1/2 year old it fit nice and snug but comfortably, so if you want it a bit looser, go up a hook size.
rnds 6-11: Ch 2, dc in each dc around, sl st*Repeat around for 6 rounds
rnds 12-14: Switch with Pink yarn with a sl st, Ch 3, dc in each dc around, sl st *Repeat around for 3 rounds. Fasten off and weave in the ends.
Take buttons and sew them on the pink edge of the hat and on the bow. (As seen in the picture) or you can create little circles with a F hook, ch 3, work 5 sc in the 2nd chain from the hook, sl st. Create many of those circles and sew them on the hat.
Ears:
Make 2
Black yarn
H hook
Rnd 1: ch 2, work 5 sc in the 2nd chain from the hook, sl st, -5 sc
Rnd 2: ch 1, Work 2 sc in each sc around, sl st in the ch 1, -10 sc
Rnd 3: ch 1, Work sc in the next sc, work 2 sc in the next sc, *Repeat around, sl st in the ch 1, -15 sc
Rnd 4: ch 1, Work sc in the next two sc, work 2 sc in the next sc, *Repeat around, sl st in the ch 1, -20sc
Rnd 5: ch 1, Work sc in the next three sc, work 2 sc in the next sc, *Repeat around, sl st in the ch 1, -25 sc
Rnd 6: ch 1, Work sc in the next four sc, work 2 sc in the next sc, *Repeat around, sl st in the ch 1, -30 sc
Fasten off and weave in the ends.
Sew the ears on top of the hat about 2 inches apart.
Bow:
H hook
Chain 20, work sc in the 2nd chain from the hook and each sc across, -19 sc
Rows 1-10: sc in each back loop across -19, *Repeat for 10 rounds. Rnd 11: sc around the edge of the bow. Fasten off and weave in the ends.
Take Yarn over the middle of the bow at least 10 times and fasten off. Sew the bow on top of the hat between the ears.
Print the entry at the top of the page to print the pattern!
Click Here for More Crochet Hat Patterns
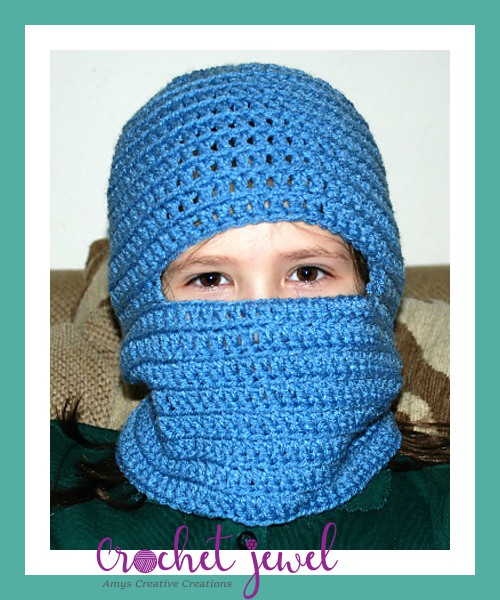
Click Here for the Crochet Ski Mask Pattern
**Adding Mouse Ears**: You’ll learn how to create and attach the signature mouse ears to your hat, giving it that unmistakable Disney charm. The placement of the ears on the top of the hat is key to achieving the perfect look.
**Finishing Touches**: Make your Mouse Ears Hat special by adding a faux fur pom pom. This whimsical touch will enhance the overall appearance of your creation and make it even more appealing.
**Sharing Your Work**: Crochet projects like this Mouse Ears Hat are ideal for sharing on social media. You can also explore crochet-related Facebook groups to connect with fellow crafters and gain inspiration for your next project.
In the world of crochet, creating stunning and comfortable crochet hats is a gratifying endeavor. Whether you’re an experienced crocheter or just starting, you’ll find that mastering this easy crochet hat pattern, using basic crochet stitches like single crochet and slip stitch in the back loop, can result in the perfect crochet hat. With a video tutorial, you’ll be guided through every step. These hats are not only excellent for keeping warm during the winter season but also make for great gifts for your loved ones. Sharing your finished projects on social media or within crochet-related Facebook groups can be a source of inspiration and connection with fellow crocheters. So, embrace the art of crocheting, pick your favorite yarns, and crochet the perfect fit for any head size, creating an array of stylish and cozy crochet hats.
In conclusion, crocheting a Mouse Ears Hat is a delightful and creative way to add a touch of whimsy to your winter wardrobe. This free crochet pattern, designed for a size J crochet hook, is accessible to crocheters of all skill levels. Craft a perfect fit for any head size, and create a unique and playful accessory. Before you begin, please take a moment to review our privacy policy, which includes information on affiliate links. Whether you’re a seasoned crocheter or just starting, this project is a great way to enjoy the art of crochet. Happy crocheting, and may your Mouse Ears Hat bring a smile to many faces!
To Find All My Crochet Jewel Patterns, Click Here

Click Here for My Ravelry Patterns


Crochet Hats for Beginners Book For Sale – Click Here

Crochet For Beginners Book for Sale – Click Here


You May Also Like
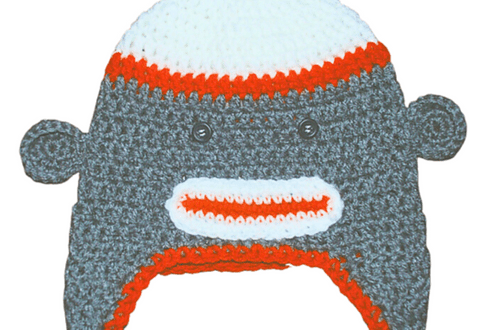
How to Crochet a Monkey Child Ear flap Hat Pattern
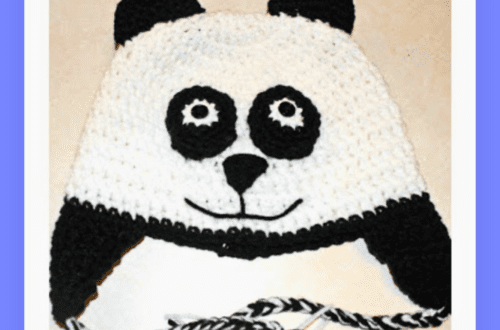
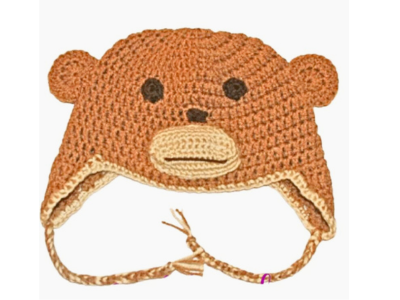
How to Crochet Panda Bear Hat Pattern