Crafting a Stylish Pom Hat: A Step-by-Step Crochet Guide
How to Crochet a Pom Hat!
Crocheting your very own pom hat is a rewarding and creative endeavor. Whether you’re an experienced crocheter or just starting, this easy crochet hat pattern is perfect for making a stylish and cozy accessory for the winter season. This tutorial will guide you through the steps to create a crochet hat using basic crochet stitches. With a free crochet pattern and video tutorial, you’ll have the necessary resources to complete this project. Plus, we’ll provide tips on choosing the best yarn for your hat and offer suggestions for making it a great gift. So, grab your crochet hook and favorite yarns, and let’s start this fun and practical crochet project!
You’ll find affiliate links within this post. If you decide to purchase through these links, I may earn a modest commission at no extra cost. Additionally, please review my privacy policy for more details.
– **Materials Needed:** To begin your crochet adventure, gather the following materials: worsted weight yarn (for a classic look) or bulky weight yarn (for a chunky style), a size G crochet hook, a tapestry needle, and a stitch marker.
– **Body of the Hat:** For the body of the hat, Continue with your preferred basic crochet stitch (single crochet, half double crochet, or double crochet). You can use the back loop for a ribbed texture or both loops for a smooth finish. Remember to mark the first stitch of each round with a stitch marker to keep track of your progress.
– **Hat Height:** your hat height depends on your preference. You can make a beanie, slouchy hat, or messy bun hat. Crochet more or fewer rows to achieve your desired height.
Supplies:
Pink and White Yarn
G Hook, Yarn needle
How to Watch Videos in Slow Motion – if the video is too fast – Click Here!

G hook, white yarn
Video on a Double Crochet Magic Circle:
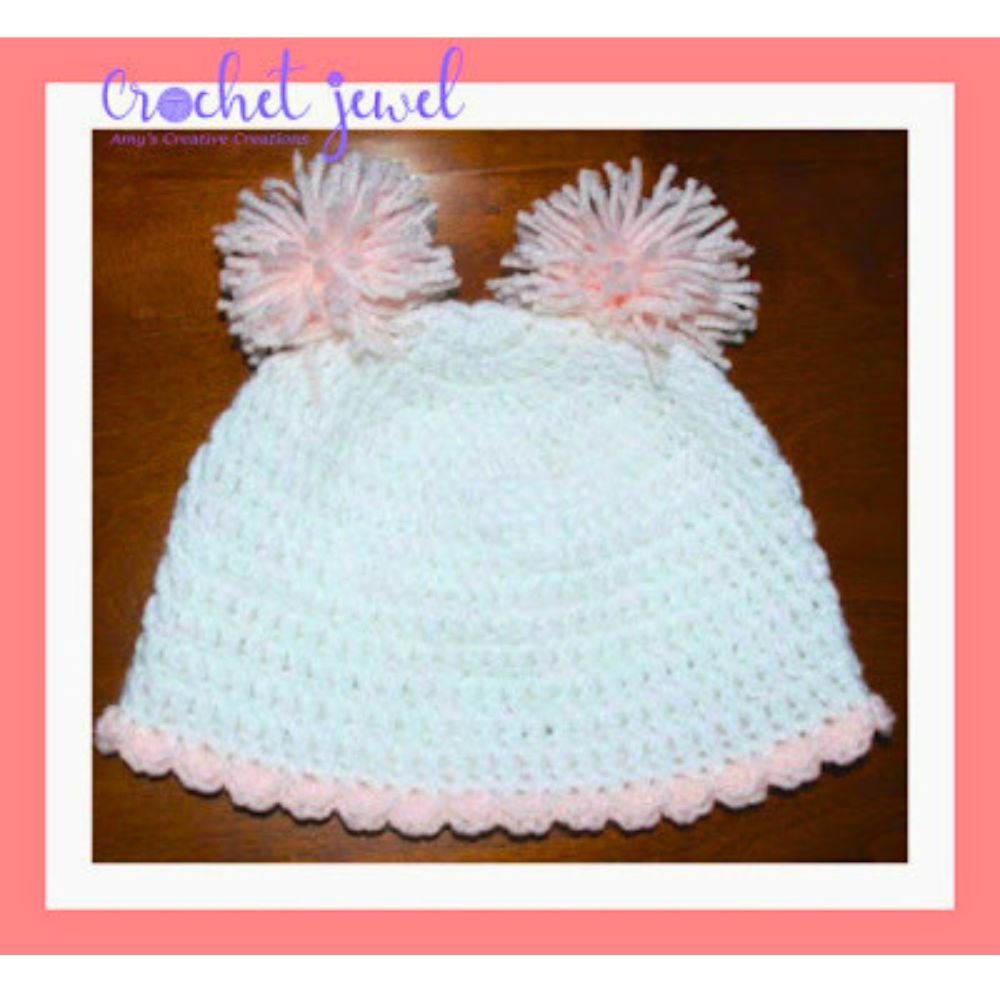
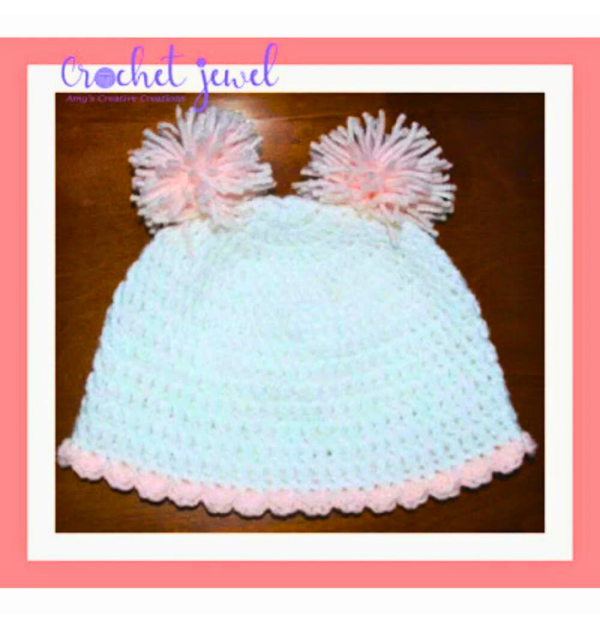
Edging: Single crochet around with white yarn. Then slip stitch with pink yarn with h hook. Slip stitch in the first stitch, then *work 3hdc in the next stitch, sl st in the next stitch, *repeat around. Fasten off.
Make 2, Pink yarnAttach them on top of the hat about 2 inches apart; sew them securely on top of the hat.
Print the Entry on the top of the page to print the pattern!
Click Here for More Crochet Hat Patterns
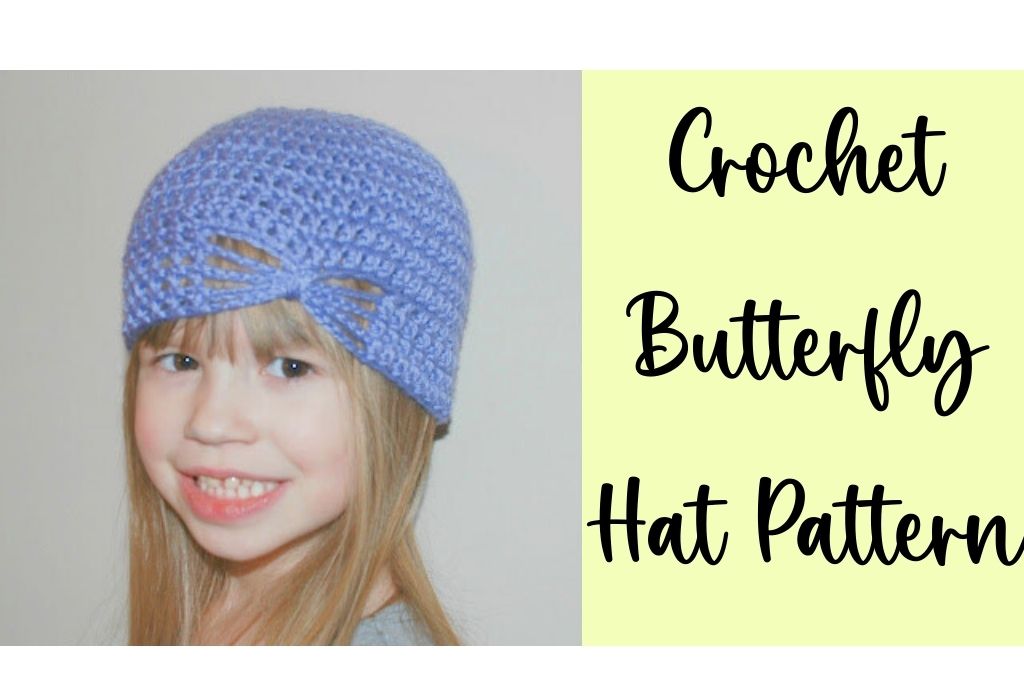
Click Here for a Crochet Butterfly Hat Pattern
– **Finishing the Hat:** After you’ve completed the last row, finish off your hat by cutting the yarn, leaving a long tail. Thread a yarn needle with the tail and weave it through the last stitches, pulling them tight to close the top of the hat.
– **Adding a Pom Pom:** To give your hat a stylish touch, consider adding a faux fur pom or yarn pom pom. Please attach it to the top of the hat using the yarn tail.
Congratulations on completing your crochet hat! Whether it’s a slouchy beanie, a warm and snug beanie, or a trendy messy bun hat, you’ve created a unique accessory perfect for the cold weather. This easy crochet hat pattern is an excellent project for crocheters of all skill levels, including beginners. It’s also a fantastic gift idea and can be customized with different colors and yarn weights. We hope you’ve enjoyed this tutorial and found it helpful. If you have any questions or need further assistance, don’t hesitate to contact our friendly crochet community on social media or our Facebook group. Happy crocheting!
To Find All My Crochet Jewel Patterns, Click Here

Click Here for My Ravelry Patterns


You May Also Like
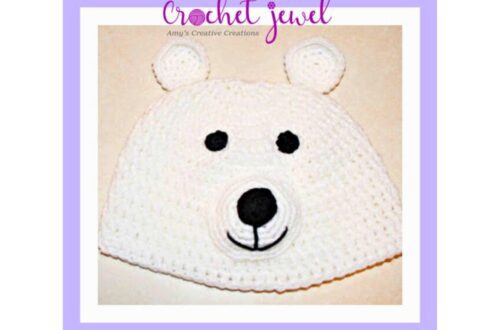
Crochet a Beautiful Polar Bear Hat: Step-by-Step Guide
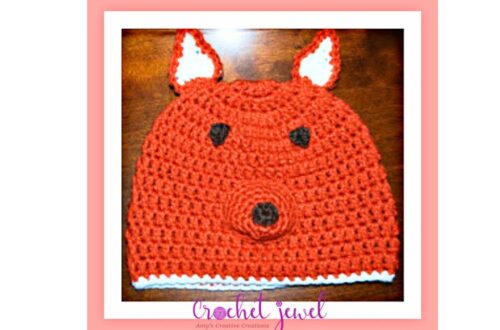
Crochet a Cute Fox Hat: Step-by-Step Guide