How to Crochet a Fun Striped Boy Hat Pattern
How to Crochet a Boy’s Hat
Welcome to the beautiful world of crochet hats! Whether you’re a seasoned crocheter or just starting, this easy crochet hat pattern for a striped boy hat is a fantastic project. This guide explores basic crochet stitches such as single crochet, slip stitch, and back loop, creating a stylish and cozy accessory for winter. The pattern is suitable for beginners, and we’ve included helpful tips, a video tutorial, and even a size chart to ensure the perfect fit for every head.
To begin this easy crochet hat pattern, start with a foundation chain and work your way up using basic stitches like single crochet and slip stitch. The back loop crochet adds texture to the hat, creating a visually appealing striped design. As you crochet, don’t forget to use a stitch marker to keep track of your rounds, especially when repeating rows for the striped pattern.
You’ll find affiliate links within this post. If you decide to purchase through these links, I may earn a modest commission at no extra cost. Additionally, please review my privacy policy for more details.
Adjusting the hat size is a breeze by modifying the number of stitches in the foundation chain and repeating rounds accordingly. Experiment with different yarn weights, from worsted to bulky, and play with colors to make each hat unique. The pattern also incorporates faux fur poms or yarn pom poms for added flair.
✨ We hope you enjoyed these photos! If so, please consider sharing them on Pinterest by clicking the Pin Button on each image. Your support helps us connect with more people and spread creativity. Thank you so much! 💖
Supplies:
Click the Links for Your Materials
The guide includes a detailed video tutorial for new crocheters, making it an ideal project for beginner crocheters. Additionally, we’ve included information on crochet hook sizes, gauge swatching, and other essential tips to ensure your finished hat is stylish and the perfect fit.
Print the entry at the top of the page to print the pattern!
Click Here for More Crochet Hat Patterns
Pay special attention to the hat’s top as you embark on this crochet journey. The crown shaping, achieved through decreasing stitches at the top of the hat, is crucial for achieving a neat and polished finish. Utilize the versatile slip stitch (sl st) and the ever-reliable single crochet to close the top of the hat seamlessly. This ensures a snug fit while maintaining the integrity of the striped pattern. Additionally, consider adding stylish faux fur or yarn pom to elevate the hat’s design. These playful embellishments add a touch of whimsy and make your crocheted creation stand out during winter.
Click Here for the Brim Hat Pattern
Crochet hats are perfect for those who enjoy quick and satisfying projects. This project becomes a relaxing and enjoyable experience with an easy-to-follow pattern and repetitive stitches. The long tail created during the foundation chain serves a dual purpose—providing enough yarn for the project and minimizing the need for frequent color changes. Don’t be afraid to mix and match your favorite yarns or experiment with different color combinations to create a truly personalized piece. Whether you’re crafting messy bun hats, slouchy beanies, or classic beanie hats, the joy of crocheting extends beyond the finished product. Share your completed hats on social media, connect with fellow crocheters, and spread your love for this timeless craft. Happy hooking!
In conclusion, this free crochet hat pattern offers a versatile, easy-to-follow design suitable for all skill levels. Crochet hats are practical for winter and make great gifts for friends and family. Whether you prefer a slouchy hat or a beanie, this pattern can be customized. Feel free to share your finished creations on social media and join our Facebook group for more crochet projects and inspiration. Happy crocheting!
To Find All My Crochet Jewel Patterns, Click Here

Click Here for My Ravelry Patterns


Crochet Hats for Beginners Book For Sale – Click Here

Crochet For Beginners Book for Sale – Click Here


You May Also Like
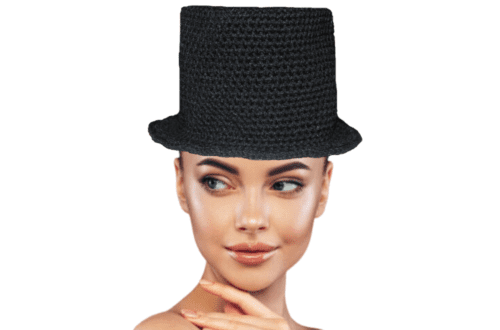
How to Crochet a Stylish Top Hat Pattern
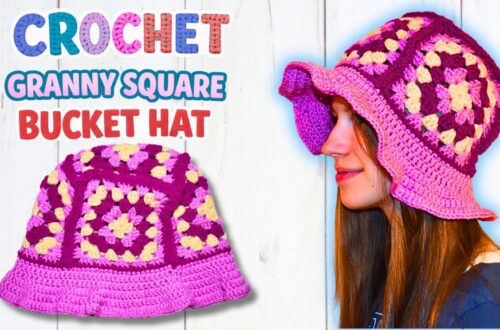
Crochet Granny Square Bucket Hat: Easy DIY Pattern