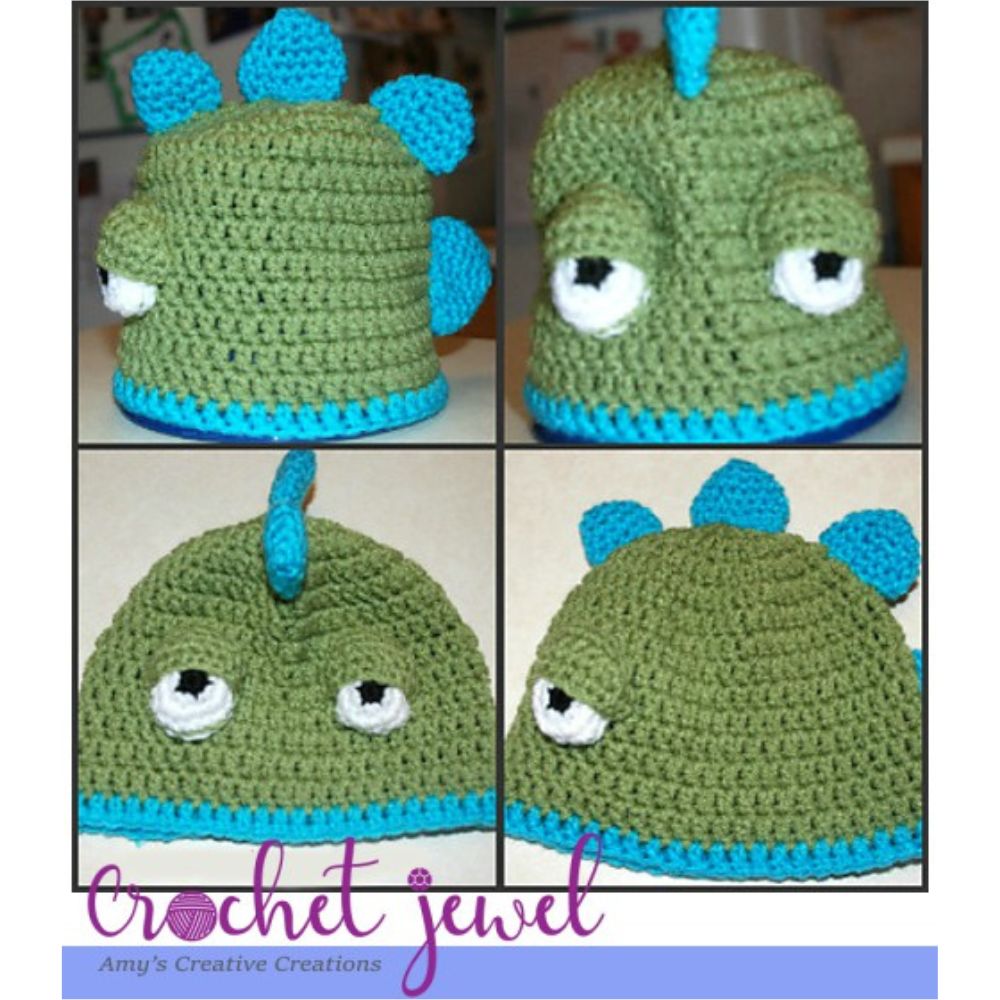
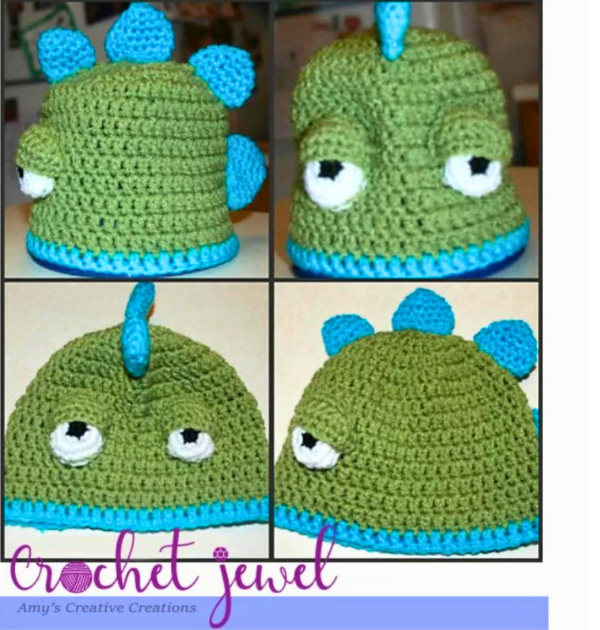
Creating a Cute Dinosaur Hat: Crochet Tutorial
How to Crochet a Dinosaur Hat
Unleash your creativity and transport yourself back to prehistoric times with this fun and playful crochet project – the dinosaur hat! Whether crafting for a child’s costume, a themed party or simply adding a whimsical touch to your winter wardrobe, crocheting a dinosaur hat will surely bring smiles and warmth to all who wear it.
In this guide, we’ll embark on an exciting journey to crochet a dinosaur hat step by step, from selecting the perfect yarn colors to mastering the essential stitches and techniques needed to bring these ancient creatures to life. Whether you’re a seasoned crocheter or a beginner looking for a fun and rewarding project, this pattern is designed to be accessible and enjoyable for crafters of all skill levels..
This post contains affiliate links. If you purchase through these links, I may earn a modest commission at no extra cost. Please review my privacy policy for more details.
✨ We hope you enjoyed these photos! If so, please consider sharing them on Pinterest by clicking the Pin Button on each image. Your support helps us connect with more people and spread creativity. Thank you so much! 💖
How to Watch Videos in Slow Motion – if the video is too fast – Click Here!
How to Crochet For Beginners Playlist – Click Here

Abbreviations:
Click the Links for Your Materials
rnd 1: Work 11 dc in a Magic Circle, sl st on top of the chain 3. -11 dc
Then with blue yarn, I did a dc in each stitch around the edge. sl st, fasten off, or you can add ear flaps.
The braid from the center of the ear flap at the bottom, I hook, use blue yarn, with a sl st in the center of the bottom of the ear flap and chain 30, and sl st it off and cut yarn.
You can put the horns on the way you like, I sewed the horns on by sewing the small on in the center middle of the forehead of the dinosaur and then sewed a medium one on about 1.5 inches apart down the back of the head in a straight line, then a small one, sewed a medium one on for the last one. So I alternated from small to big.
Print the Entry on the top of the page to print the pattern!
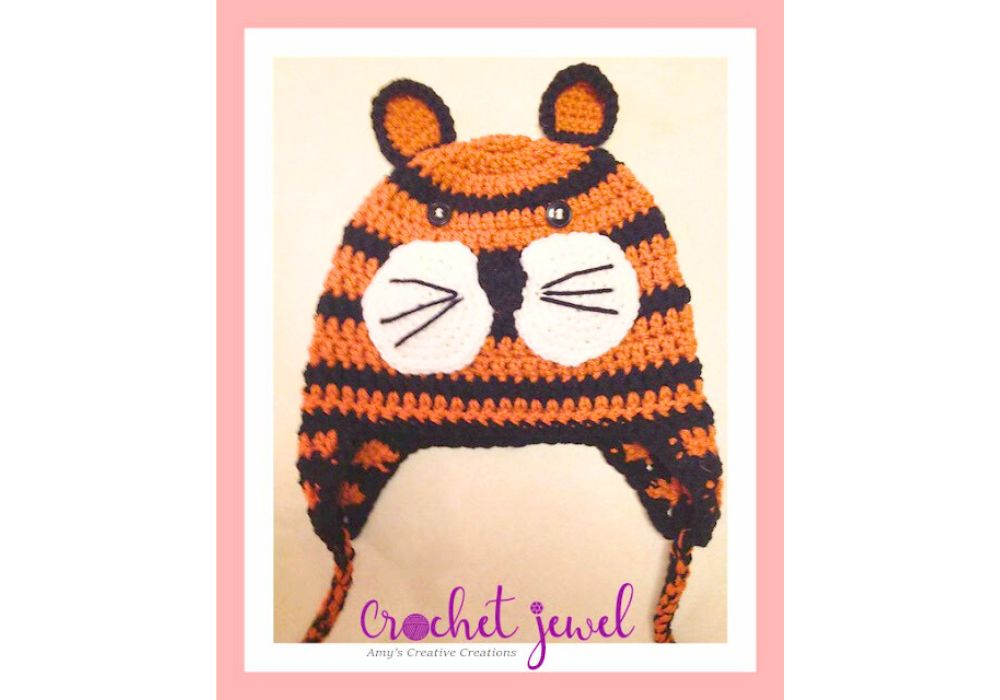
Click Here for More Crochet Hat Patterns
You can use various yarns, from bulky weight to super bulky, depending on your preference for a chunky or slouchy hat.
As we progress, we’ll incorporate the slip stitch (sl st) and stitch marker to help you keep track of your rounds. A video tutorial guides you through each step, making it a great project for new crocheters. Feel free to experiment with different colors and yarn weights to match your style.
Create your perfect crochet hat pattern with this easy, free crochet pattern suitable for all skill levels. Add a cozy faux fur pom to the top for that slouchy winter-season look. You can experiment with different yarn weights and chunky yarn for a chunky or super bulky yarn for a more slouchy beanie. Whether you’re a beginner crocheter or an experienced crafter, this crochet beanie pattern is a great project, offering the perfect fit for an adult medium-head size. Share your finished hat on social media or join our Facebook group for a community of like-minded crocheters; it’s the perfect project to stay warm and stylish during the cold weather season while making great gifts for loved ones.
Add faux fur or yarn pom pom to the top of the hat for a finishing touch. It enhances the hat’s appeal and keeps you cozy during cold weather. Don’t forget to share your finished crocheted beanie in our social media groups; it’s a great way to connect with fellow crocheters and share your progress.
In conclusion, crocheting a dinosaur hat is a fantastic and rewarding project, perfect for beginners and experienced crocheters. With a free crochet pattern, video tutorials, and various yarn options, you can easily create a unique and cozy hat for the winter season. Embrace your creativity, and make this fun project your own. Happy crocheting!
To Find All My Crochet Jewel Patterns, Click Here

Click Here for My Ravelry Patterns


Crochet Hats for Beginners Book For Sale – Click Here

Crochet For Beginners Book for Sale – Click Here


You May Also Like
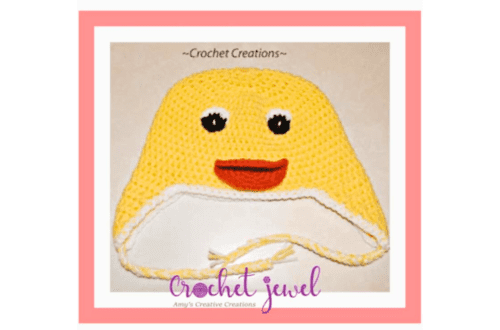
How to Crochet a Fun Duck an Ear flap Hat Pattern
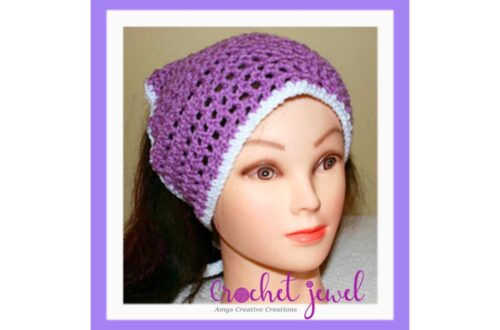
Crafting a Fashionable Crochet Head Scarf Made Easy