Crochet a Fun Zebra Beanie Hat: Step-by-Step Tutorial
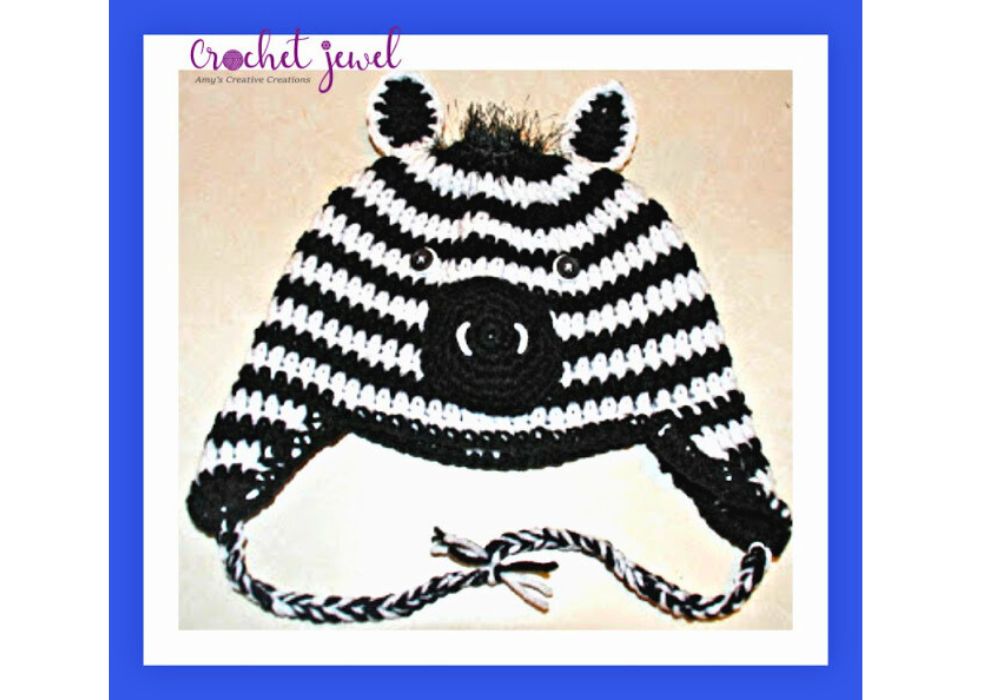
How to Crochet a Zebra Hat
When the winter season arrives, there’s nothing like a cozy beanie hat to keep you warm. You’re in the right place if you’re a beginner crocheter or just looking for an easy crochet hat pattern. This free crochet pattern guide’ll show you how to create a stylish and comfortable zebra beanie hat using basic crochet stitches. With a video tutorial to assist you every step of the way, you can make a perfect fit for your head size or as an excellent gift for a friend. So grab your favorite yarn and crochet hook size, and let’s start this fun and easy project.
You’ll find affiliate links within this post. If you decide to purchase through these links, I may earn a modest commission at no extra cost. Additionally, please review my privacy policy for more details.
✨ We hope you enjoyed these photos! If so, please consider sharing them on Pinterest by clicking the Pin Button on each image. Your support helps us connect with more people and spread creativity. Thank you so much! 💖

To begin your crochet zebra beanie hat, you’ll need the following materials:
Click the Links for Your Materials
– Crochet hook
– Tapestry needle
– Stitch marker
– Worsted weight yarn in black and white (or your choice of colors)
– Size J (6.0 mm) crochet hook
– Yarn needle
– Stitch marker
How to Watch Videos in Slow Motion – if the video is too fast!

White and Black Red Heart yarn
H Hook
G Hook
Yarn needle
2 buttons
rnd 3. ch 3 counts as the first stitch, *2dc in next st., dc in the next stitch, repeat from *around, join with sl st. -33 sts.
So I did the ear flap on the side of the hat) 2nd flap, fold hat in half and sl st in dc directly across from the last dc from the other ear flap. Follow the directions below for both ear flaps.
The braid from the center of the ear flap at the bottom uses black and white yarn, with a sl st in the center of the bottom of the ear flap and chain 30, and sl st it off and cut yarn.
sc around the edge of the hat with black yarn.
Eyes: Make 2, Sew on buttons, sew them about 2 inches apart, above the muzzle.
rnd 1. sc in the same stitch, 2sc in each stitch around, use a marker to keep track of your rounds -12 sc
rnd 2. *sc in the next stitch, 2sc in the next stitch, *repeat, -18 sc
rnd 3. *sc in the next 2 stitches, 2sc in the next stitch, *repeat, -24 sc
rnd 4. *sc in the next 3 stitches, 2sc in the next stitch, *repeat, -30 sc
rnd 5. *sc in the next 4 stitches, 2sc in the next stitch, *repeat, -36 sc
fasten off.
Print the entry at the top of the page to print the pattern!
**Finishing:**
Fasten off, leaving a long tail. Use a tapestry needle to weave the yarn tail through the last round and cinch the top of the hat closed. Secure and weave in any remaining ends.
**Faux Fur Pom Pom (Optional):**
For extra flair, you can add a faux fur pom to the top of your beanie using a tapestry needle and the long tail you left from fastening off.
You’ve just completed your zebra beanie hat using an easy crochet hat pattern. This free crochet pattern is perfect for new crocheters and seasoned crafters alike. With the option to make it a slouchy or a snug fit, this beanie is ideal for keeping warm during the cold winter season. Share your finished crocheted beanie on social media, and if you enjoyed this project, check out our other free crochet hat patterns. Happy crocheting!
To Find All My Crochet Jewel Patterns, Click Here

Click Here for My Ravelry Patterns


Crochet Hats for Beginners Book For Sale – Click Here

Crochet For Beginners Book for Sale – Click Here


You May Also Like
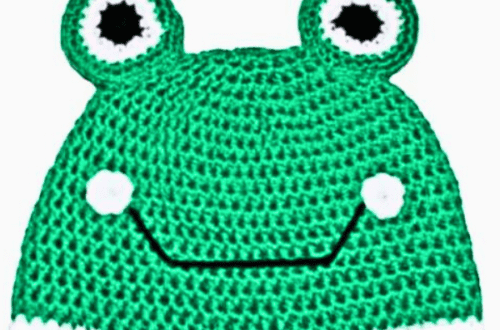
Create an Adorable Frog Beanie Hat with Crochet Tutorial
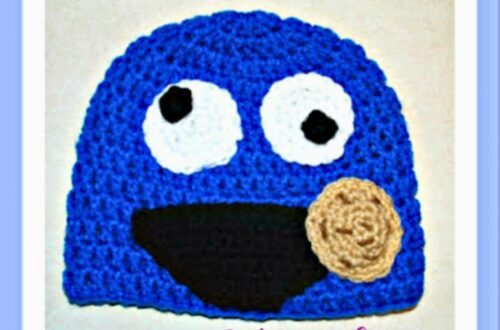
Crochet Cookie Monster Inspired Hat: A Step-by-Step Guide